You have been counting down the days, and it is finally time to pack your bags for your Namibian safari holiday. But oh dear, you can’t possibly pack your whole camera bag with all five of your lenses. There simply isn’t enough space, and the weight allowance is less than what you had hoped for. So the big question remains – what to pack, and what to leave?
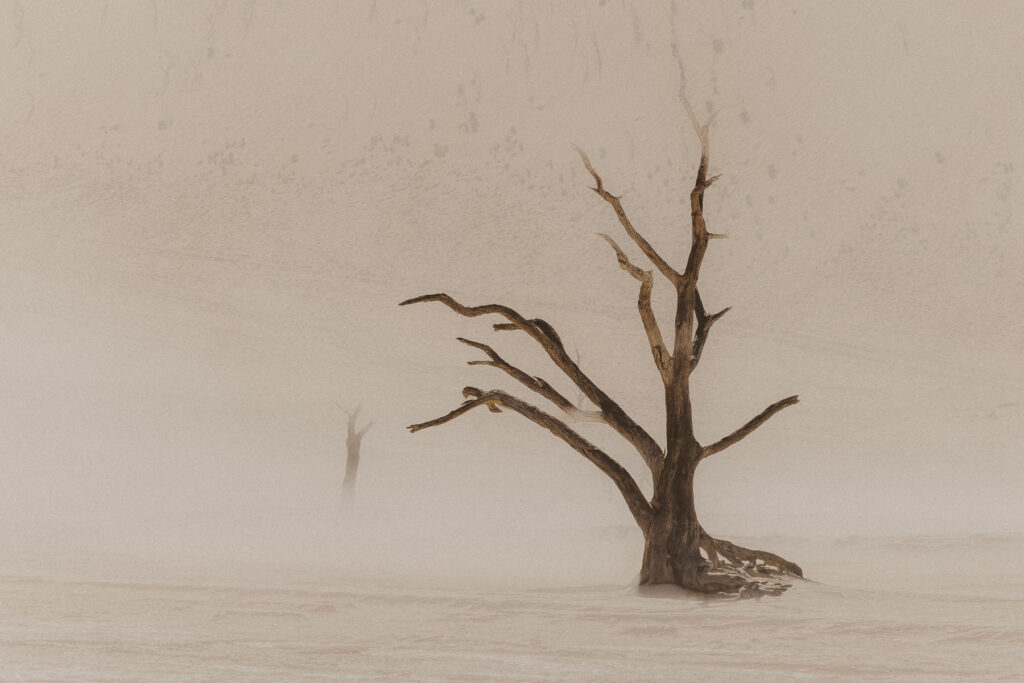
Namibia is a country of contrasts. From blue hour to sunset, the light changes in every possible way. As you drive, the landscapes continue to shift. Wildlife, magical trees, and open skies – these all seem to require different lenses… or do they? As a prime shooter, I often find myself tangled up between the many choices. So here is what I have learned after more than a decade as a professional photographer in the country that I get to call home!
As a Canon user, I will be recommending from what I know. That said, Nikon, Sony, and even Fujifilm all have lenses in similar ranges.
Primes vs Zooms
Just five years ago, I would have chosen a prime rather than a zoom. Technology has changed that, and I will gladly pack a couple of zoom lenses.
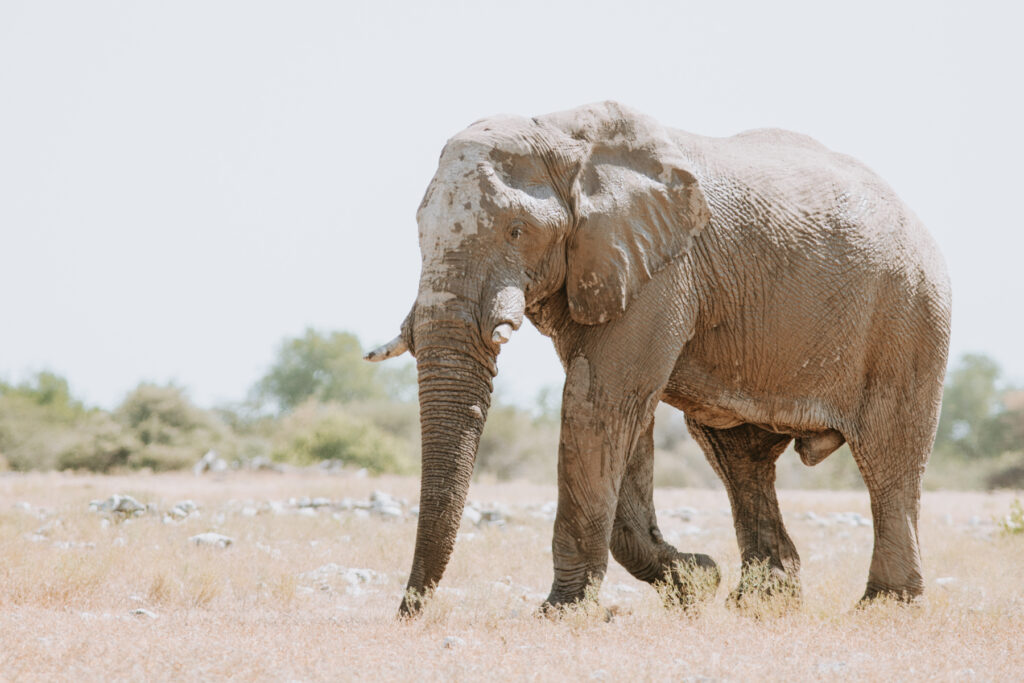
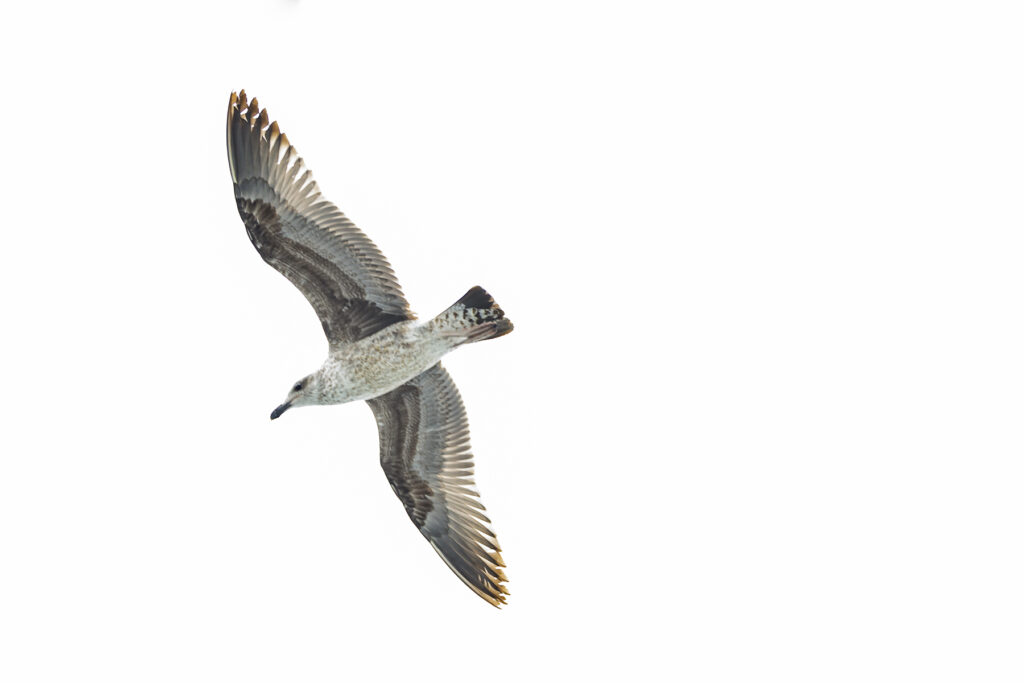
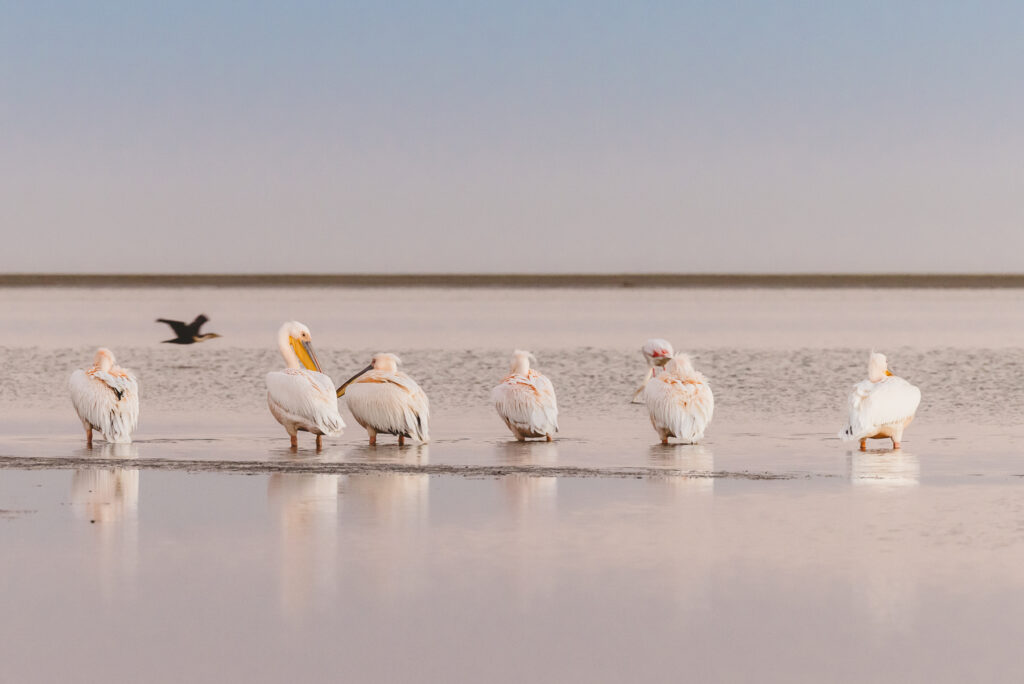
The Canon 24–70mm is an all-rounder when it comes to landscapes, while the Canon RF 70–200mm will help you get close to the wildlife you will see in Etosha National Park and on game drives. However, if you are a birder or a serious wildlife enthusiast, I would replace the 24–70mm with the 200–400mm.
If you have space and are prepared to wear fewer clothes for one more lens, I’d pack all three.
One or two camera bodies?
Two.
You’ll be sitting on the back of safari vehicles when you suddenly need a different lens from the one currently on your camera body. Changing lenses is not ideal in the Namibian outdoors, with the fine dust that quickly settles onto everything.
Tripod & Flash?
Unless you are into capturing the interiors of the lodges and guesthouses you are staying at, I’d leave the flash. Namibian accommodations pride themselves on the views they offer and generally have fantastic natural light.
Tripod – yes! For those blue hour photos. And you’ll find yourself wishing you had one the moment you notice the stars. Even if you have never been interested in night skies, the Namibian skies will tickle your fancy. Use a sturdy tripod, but not necessarily the heaviest or biggest one.
Last but not least, the bag
Use a bag with good internal padding. If you have loose padding, line your lenses a little more. Take a backpack instead of a sling bag. Chances are you’ll go on guided walks. A backpack isn’t just more comfortable; it’s also safer. And if you have one with a waterproof seal – use it. Not for rain, but for dust. The more you can protect your gear against dust, the better.
And don’t forget a cleaning kit. T-shirts also get dusty and dirty and may not offer the best cleaning fabric 😉
Namibia doesn’t have a whole lot of camera shops, except for the two in Windhoek. So don’t forget those batteries and SD cards.
As a side note – get ready to wake up early and eat dinner late. The best time of day to take photos is during the three hours around sunrise and sunset. And it’s for practical reasons. Besides the fact that it can get quite hot during the midday hours, heat forms a haze close to the ground that can often ruin your photos. When you are out in Etosha and have to be out all day, use this time to study animal behaviour. Get close-up photos of elephant eyes and giraffe skin. Long-distance photos may wilt your love for photography.
And that’s it.
Cheers to all the amazing safari moments you’ll have immortalized.
Take more photos than your safari buddy has patience for.
Drink more water than you think you should. It gets hot out here.
And then take a week off after your holiday to sort and edit.
Quick Safari Photography Gear Checklist
- Camera bodies (x2)
- Lenses
- 24–70mm
- 70–200mm
- 200–400mm (optional / wildlife-focused)
- Sturdy tripod
- Camera backpack with good padding (dust-resistant if possible)
- Extra batteries
- SD cards (more than you think you’ll need)
- Cleaning kit (blower, cloth, brush)
- Lens caps & body caps
- Rain cover or sealed bag (for dust, not rain)
Written by Mariette du Toit